The Ultimate Guide to Building a DIY Home Studio for Photography and Videography
Are you passionate about photography or video creation but find it challenging to access a professional studio? Don't worry, because we've got you covered!
In this blog, we'll guide you through the process of creating your very own DIY home studio. With some creativity and a few essential tools, you can unleash your artistic vision right in the comfort of your own space. Let's dive in and explore the steps to bring your home studio to life.
Table of Contents:
Understanding the Benefits of a DIY Home Studio
Choosing the Right Space for Your Home Studio
Essential Equipment for Your DIY Home Studio
Setting Up Proper Lighting for Professional Results
Backdrops and Props: Elevating Your Creative Vision
Soundproofing and Acoustic Treatment for Audio Quality
Organizing and Optimizing Your Home Studio Space
DIY Studio Hacks: Cost-Effective Solutions for Every Budget
Tips for Getting the Most Out of Your DIY Home Studio
Showcasing Your Creativity: Sharing Your Work with the World
Understanding the Benefits of a DIY Home Studio:
A DIY home studio offers numerous advantages, including convenience, cost-effectiveness, and the ability to work at your own pace.
It provides a dedicated space where you can unleash your creativity, experiment with different techniques, and refine your skills without the time constraints and expenses associated with renting a professional studio.
Choosing the Right Space for Your Home Studio:
Selecting the ideal space for your home studio is crucial. Consider factors such as available space, natural light, noise levels, and the ability to control the environment.
Whether it's a spare room, basement, or even a corner of your living area, find a space that suits your needs and allows you to focus on your creative process.
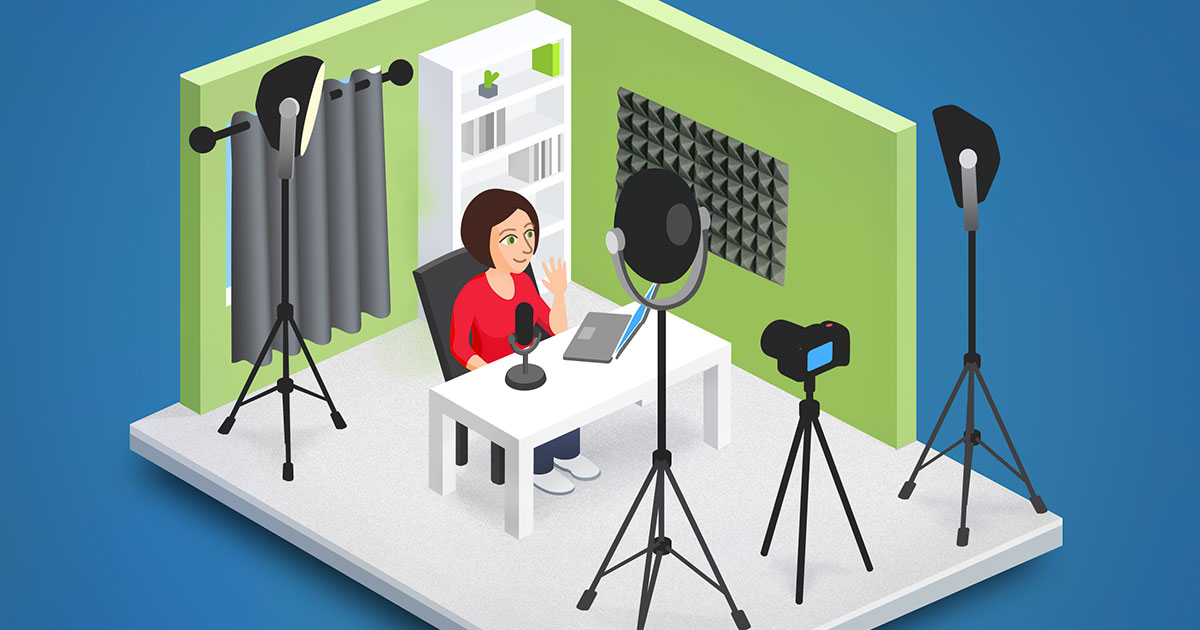
Essential Equipment for Your DIY Home Studio:
While you can start with minimal equipment, there are a few essentials to consider. These include a good-quality camera, lenses, tripod, lighting equipment, reflectors, and backdrops. Assess your needs and invest in equipment that aligns with your creative goals and budget.
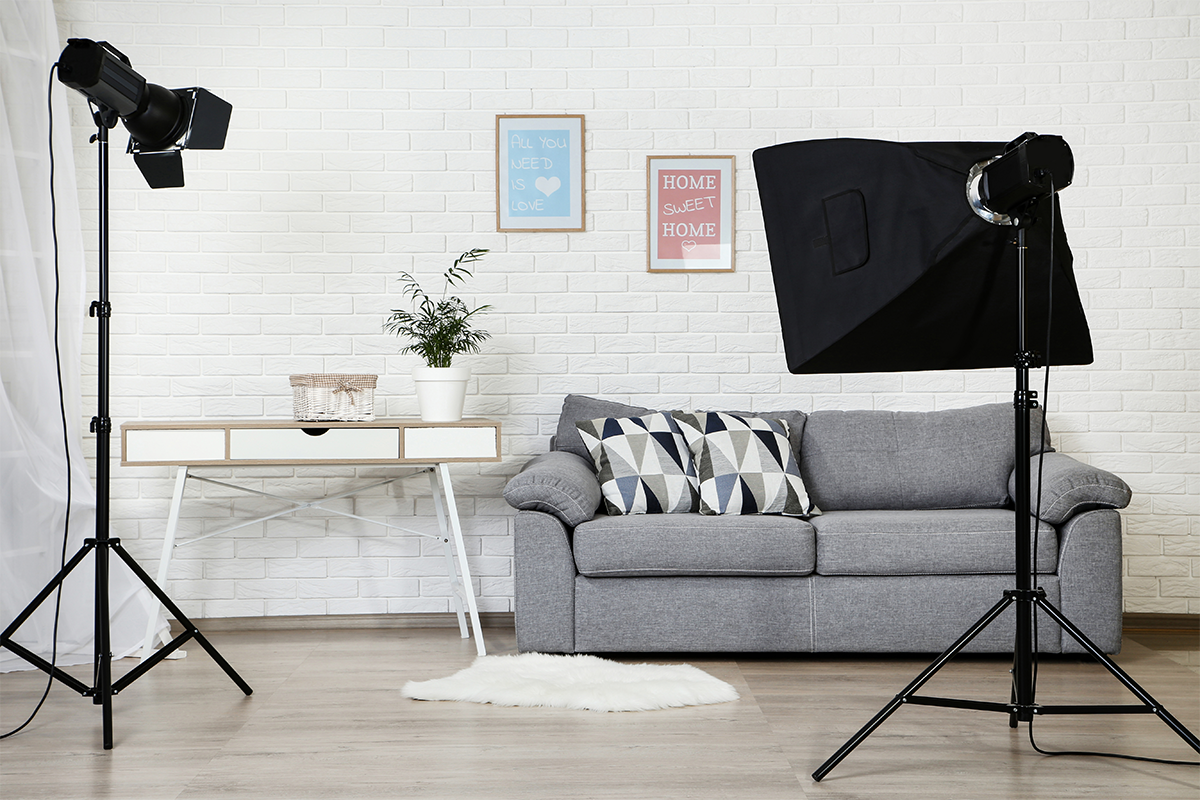
Setting Up Proper Lighting for Professional Results:
Proper lighting is key to achieving professional-looking results in your home studio. Consider utilizing natural light sources, diffusers, and affordable artificial lighting options like softboxes or LED panels. Experiment with lighting angles, intensity, and color temperature to create the desired mood and ambiance for your projects.
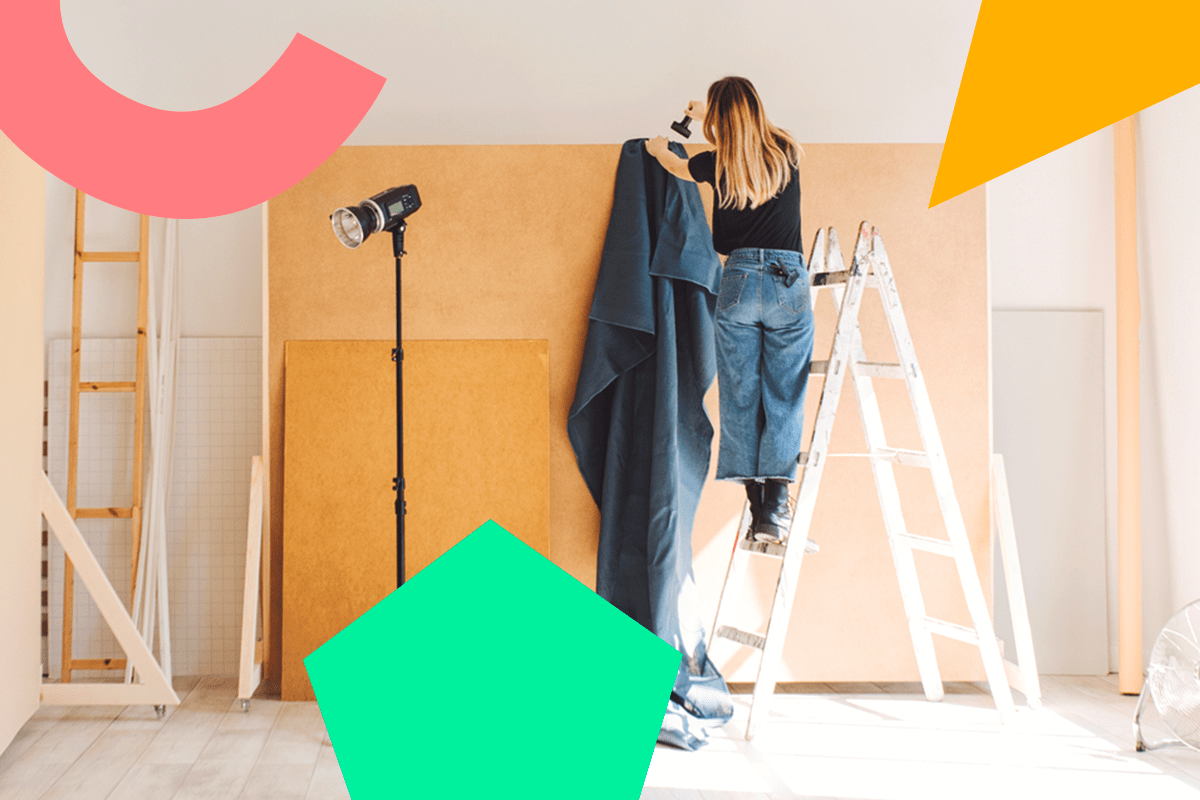
Backdrops and Props: Elevating Your Creative Vision:
Backdrops and props add depth and variety to your compositions. Choose versatile options like muslin backdrops or seamless paper rolls in different colors. Incorporate props that complement your subject matter, whether it's for photography or videography.
DIY solutions like fabric or repurposed materials can also add a unique touch to your setup.
Soundproofing and Acoustic Treatment for Audio Quality:
If you'll be recording audio in your home studio, consider soundproofing and acoustic treatment to minimize external noise and echo.
Use materials like foam panels, bass traps, or DIY solutions to create a controlled acoustic environment, ensuring high-quality audio recordings.
Organizing and Optimizing Your Home Studio Space:
Effective organization is crucial for maximizing your home studio's functionality. Utilize storage solutions like shelves, racks, and bins to keep your equipment tidy and easily accessible. Optimize your workspace layout to ensure efficient workflow and reduce clutter.
DIY Studio Hacks: Cost-Effective Solutions for Every Budget:
Discover cost-effective DIY hacks to enhance your home studio setup. From repurposing household items to building your own light modifiers or reflectors, explore creative solutions that suit your budget. Online tutorials and communities can provide inspiration and guidance for budget-friendly studio improvements.
Tips for Getting the Most Out of Your DIY Home Studio:
Maximize the potential of your DIY home studio with tips like practicing with different lighting setups, experimenting with angles and compositions, utilizing post-processing software for editing, and continuously learning and exploring new techniques.
The more you practice and push your creative boundaries, the more your skills will evolve.
Showcasing Your Creativity: Sharing Your Work with the World:
Once you've created a DIY home studio and captured stunning imagery or video content, it's time to share your creativity with the world.
Utilize online platforms, social media, photography communities, and local exhibitions to showcase your work and connect with like-minded individuals. Embrace feedback, learn from others, and let your talent shine.
Conclusion:
Creating a DIY home studio empowers you to unleash your creative vision and explore the world of photography or videography right in the comfort of your own space.
By choosing the right equipment, optimizing lighting, soundproofing, and organizing your setup, you can create a professional environment that nurtures your artistic pursuits. Embrace the freedom and convenience of a DIY home studio and let your creativity soar. Start building your dream studio today!
FAQs
Q1: Do I need a dedicated room for my DIY home studio, or can I utilize existing space?
You can utilize existing space in your home for your DIY home studio. Whether it's a spare room, basement, or even a corner of your living area, as long as it provides enough room to set up your equipment and work comfortably, it can serve as your creative space.
Q2: What is the minimum equipment I need for a DIY home studio?
The minimum equipment for a DIY home studio includes a camera, lenses, tripod, lighting equipment (such as a continuous light or speedlight), and a backdrop. Additional accessories like reflectors and diffusers can also enhance your setup.
Q3: How can I optimize natural light in my home studio?
You can optimize natural light in your home studio by positioning your setup near windows to utilize the available light. You can also diffuse the sunlight using sheer curtains or use reflectors to bounce the light onto your subject and create softer, more flattering lighting.
Q4: What types of backdrops should I consider for my DIY home studio?
Consider versatile options like muslin backdrops or seamless paper rolls in various colors. These options allow you to change the backdrop easily and cater to different shooting styles or themes. You can also experiment with fabric or repurposed materials for a more creative look.
Q5: How can I control sound quality in my DIY home studio?
To control sound quality, consider soundproofing your space by using materials like foam panels or heavy curtains to minimize outside noise. Additionally, you can improve audio quality by using a directional microphone and reducing echo through acoustic treatment, such as foam panels or bass traps.
Q6: How do I organize my equipment and props in a small home studio?
Maximize storage space by utilizing shelves, racks, or bins to keep your equipment and props organized and easily accessible. Consider labeling and categorizing items to streamline your workflow and save time during setup and teardown.
Q7: Are there cost-effective DIY solutions for setting up a home studio on a budget?
Yes, there are plenty of cost-effective DIY solutions for a home studio. You can repurpose items from around the house as light modifiers or reflectors, build DIY diffusers using materials like shower curtains, or create backdrops using fabric or painted surfaces.
Q8: How can I experiment and improve my skills in a DIY home studio?
Experimentation is key to improving your skills in a DIY home studio. Try different lighting setups, angles, compositions, and post-processing techniques. Continuously challenge yourself to learn and explore new techniques through online tutorials, courses, and engaging with the photography or videography community.
Q9: Can I use my DIY home studio for professional work or client projects?
Absolutely! With proper equipment and a well-executed setup, your DIY home studio can be used for professional work or client projects. Ensure that you have the necessary equipment and skills to meet client requirements and deliver high-quality results.
Q10: How can I share my work from my DIY home studio with others?
You can share your work from your DIY home studio by utilizing online platforms, social media, photography communities, and local exhibitions. Engage with other photographers or videographers, seek feedback, and participate in collaborative projects to expand your network and showcase your talent to a wider audience.