Step-by-step Guide: How to Use Light Modifiers to Enhance Your Photos

Photography is an art form that relies heavily on light. The way light interacts with your subject can make or break a photograph. One powerful technique to enhance your photos is by using light modifiers. Light modifiers are tools that help control and manipulate light to achieve desired effects. In this step-by-step guide, we will explore various light modifiers and learn how to use them effectively to take your photography to the next level.
Table of Contents:
I. Understanding Light Modifiers
II. Types of Light Modifiers A. Reflectors B. Softboxes C. Umbrellas D. Diffusers E. Grids F. Gels
III. Choosing the Right Light Modifier for Your Shot
IV. Setting Up Your Lighting Setup
V. Techniques for Enhancing Your Photos A. Creating Soft and Even Lighting B. Controlling Shadows and Highlights C. Adding Drama and Mood D. Achieving Creative Lighting Effects
VI. Tips for Using Light Modifiers
VII. Conclusion
VIII. FAQs
I. Understanding Light Modifiers: Before we dive into the practical aspects, let's first understand what light modifiers are and how they can impact your photography. Light modifiers are accessories or tools that alter the characteristics of light, allowing you to shape and control it to suit your creative vision.
A. Reflectors: Reflectors bounce light back onto the subject, filling in shadows and adding a subtle glow.
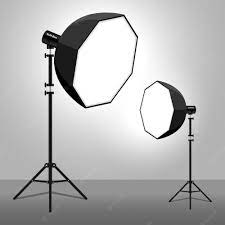
B. Softboxes: Softboxes diffuse light, creating a soft and even illumination that flatters your subject.
C. Umbrellas: Umbrellas spread and soften light, offering a versatile and cost-effective solution.
D. Diffusers: Diffusers scatter light, reducing harsh shadows and producing a more natural look.
E. Grids: Grids narrow the light beam, providing precise control over where the light falls.
F. Gels: Gels are colored filters that alter the light's color temperature, allowing for creative effects.
III. Choosing the Right Light Modifier for Your Shot
Understanding the characteristics and intended use of each light modifier will help you select the most suitable one for your specific photography needs. Consider factors such as the subject, desired lighting style, and location when making your decision.
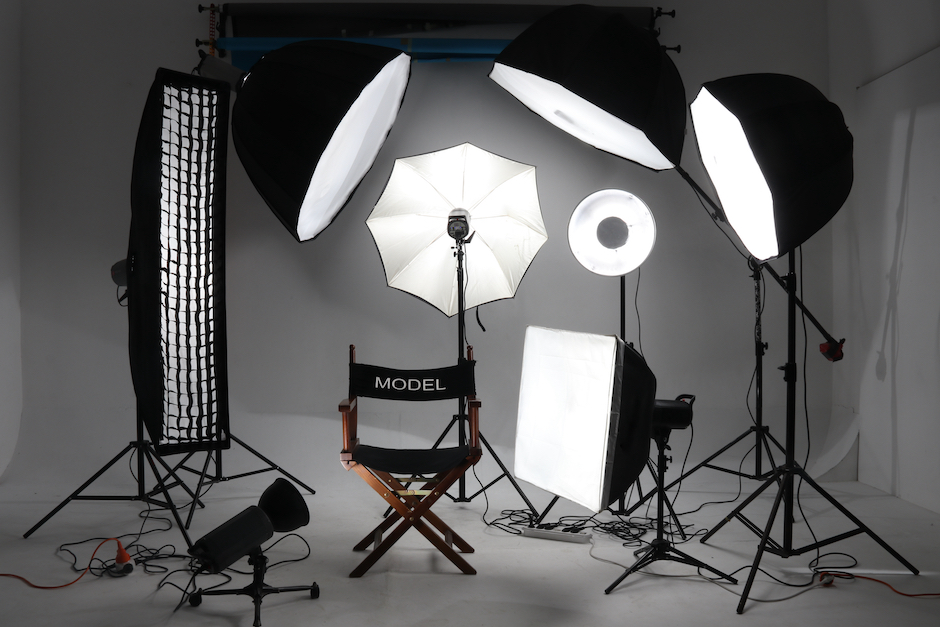
IV. Setting Up Your Lighting SetupProperly setting up your lighting is crucial for achieving desired results. Ensure that your light source is positioned appropriately, taking into account factors such as the angle, distance, and intensity. Experiment with different setups to find the best lighting configuration for your subject and desired effect.
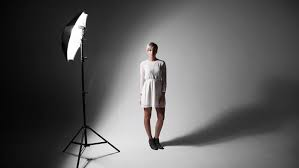
V. Techniques for Enhancing Your PhotosA. Creating Soft and Even Lighting: Softboxes and diffusers are ideal for achieving soft and even lighting, perfect for portraits and still life photography. B. Controlling Shadows and Highlights: Grids and reflectors can help you control the amount of light hitting your subject, allowing for precise shadow and highlight management. C. Adding Drama and Mood: Experiment with gels to add color and create a mood that enhances the story or emotion in your photos. D. Achieving Creative Lighting Effects: Combine multiple light modifiers or experiment with unconventional techniques to achieve unique and creative lighting effects.
VI. Tips for Using Light Modifiers
- Pay attention to the quality of light on your subject. The size and shape of the light source, as well as the distance, can create different effects on your subject. A larger modifier placed closer to your subject will produce softer, more flattering light, while a smaller modifier placed farther away will create more defined shadows.
- Consider the mood and atmosphere you want to convey in your photos. Light modifiers can play a crucial role in setting the mood of your image. For example, a softbox can create a romantic and dreamy atmosphere, while a snoot can produce a focused and dramatic spotlight effect. Experiment with different modifiers to match the mood you want to capture.
- Don't be afraid to think outside the box. Light modifiers can be anything that alters the light's characteristics, even everyday objects like white sheets or cardboard. Be creative and try using unconventional items as modifiers to achieve unique and unexpected results.
- Practice and experiment regularly. Becoming proficient in using light modifiers takes time and practice. Dedicate time to experiment with different modifiers, lighting setups, and subjects. By doing so, you'll gain a better understanding of how light interacts with your modifiers and how to achieve the desired effects.
- Take note of your lighting setups. Keep a record of your lighting setups and the modifiers used for each photo. This will serve as a valuable reference for future projects and help you replicate successful lighting techniques.
- Learn from your mistakes and embrace the learning process. Not every shot will turn out perfectly, and that's okay. Use any mistakes or unsuccessful attempts as learning opportunities to understand how light modifiers work in different situations. With each attempt, you'll gain more experience and improve your skills.
- Enjoy the process and have fun. Using light modifiers to enhance your photos is a creative journey. Embrace the learning process, experiment with different techniques, and let your passion for photography guide you. Enjoy the process and the beautiful results you'll achieve with light modifiers.
Conclusion:Understanding how to use light modifiers effectively can significantly elevate your photography skills. By following the tips outlined in this guide, you can confidently explore different light modifiers, experiment with various lighting setups, and create stunning images with enhanced lighting and mood. Remember, practice and patience are key to mastering the art of using light modifiers. So, grab your camera, your favorite modifiers, and start capturing captivating photos that truly stand out.
Note: This blog post is for informational purposes only and does not substitute practical experience and hands-on learning in photography.
FAQs
Question: What is RAW format in photography?
Answer: RAW format is an uncompressed file format that captures all the data and information from your camera's sensor. It preserves the original image data without any loss or compression, providing greater flexibility and control during post-processing.
Question: How is shooting in RAW different from shooting in JPEG?
Answer: Shooting in RAW captures more data and provides greater flexibility in editing compared to shooting in JPEG. RAW files retain more details, offer a wider dynamic range, and allow for non-destructive adjustments during post-processing.
Question: Does shooting in RAW require special software to process the images?
Answer: Yes, shooting in RAW requires specific software that can read and process RAW files. Most photo editing software, such as Adobe Photoshop and Lightroom, support RAW file formats and offer comprehensive editing capabilities.
Question: Are RAW files larger in size compared to JPEG files?
Answer: Yes, RAW files are generally larger in size than JPEG files due to their uncompressed nature. The larger file size allows for more detailed information to be captured, resulting in higher-quality images.
Question: Can I convert RAW files to JPEG after shooting?
Answer: Yes, RAW files can be converted to JPEG format using photo editing software. This conversion allows you to share the edited images easily or use them in applications that only accept JPEG files.
Question: Do I need a professional camera to shoot in RAW format?
Answer: While most professional cameras offer RAW shooting capabilities, many consumer-level cameras also support shooting in RAW. It's important to check your camera's specifications and settings to see if RAW shooting is available.
- Question: Does shooting in RAW guarantee better image quality?
Answer: Shooting in RAW provides the potential for better image quality due to the increased flexibility in post-processing. However, it also requires proper exposure and composition techniques during shooting to fully maximize the benefits.
Question: Can I adjust the white balance of a RAW image after shooting?
Answer: Yes, one of the advantages of shooting in RAW is the ability to adjust white balance during post-processing. RAW files retain all the original color temperature and white balance information, allowing for precise adjustments.
Question: Are there any downsides to shooting in RAW format?
Answer: The main downside of shooting in RAW is the larger file size, which requires more storage space. Additionally, processing RAW files can be more time-consuming, and beginners might find the editing process initially more complex.
Question: Will shooting in RAW automatically make my photos look better?
Answer: Shooting in RAW alone does not guarantee better photos. It provides the potential for greater control and image quality during post-processing, but capturing well-composed, properly exposed, and creatively composed images is essential regardless of the file format.