Reflectors: A Complete Guide to Manipulating Light in Photography

Photography is all about capturing light, and sometimes the natural light available to us isn't enough to create the perfect shot.
That's where reflectors come in handy! Reflectors are an essential tool for any photographer, and they can help you manipulate light to achieve your desired result.
In this guide, we'll go over everything you need to know about using reflectors in photography.
What is a Reflector?
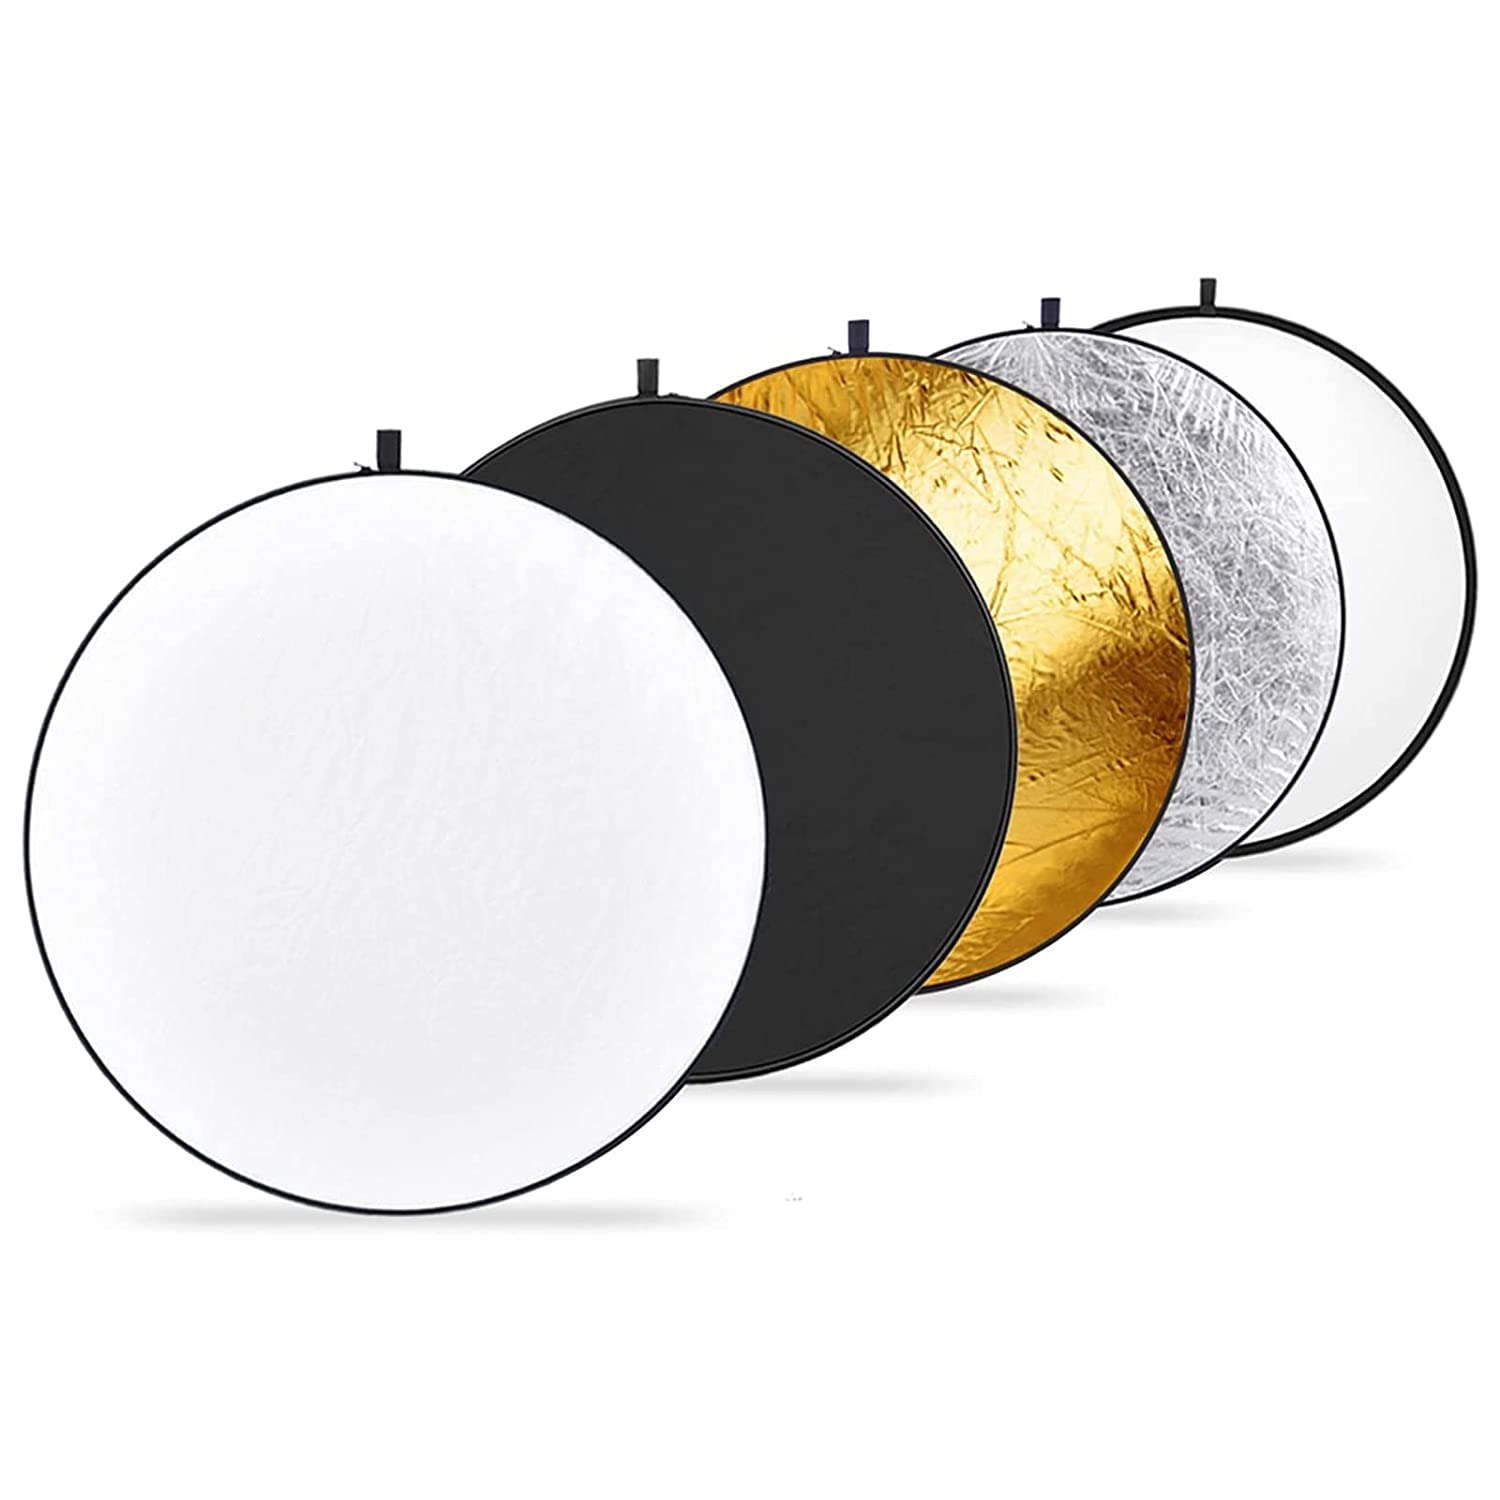
A reflector is a flat surface that reflects light. Reflectors come in many different shapes and sizes, from small circular ones to large rectangular ones. They can be made from a variety of materials, including silver, gold, white, and black. You can buy the best quality of reflector from my favourite site imaginext .
Each color has a different reflective quality, which affects the type of light it reflects.
Why Use a Reflector?
Reflectors are useful because they allow you to manipulate light. By reflecting light onto your subject, you can fill in shadows, reduce harsh lighting, and create a more even light source. Reflectors are especially helpful when shooting outdoors or in a location with limited light sources. They are also more cost-effective than purchasing additional lighting equipment.
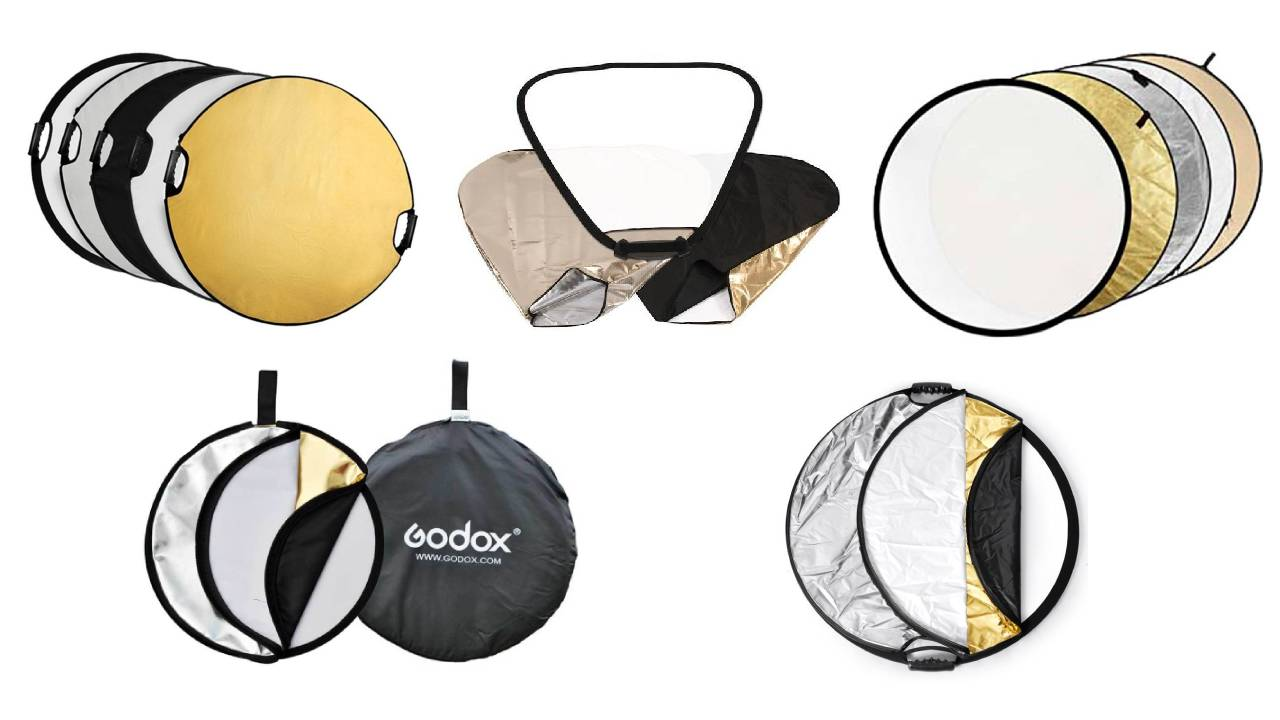
Types of Reflectors
There are several types of reflectors to choose from. Here are some of the most common:
- White Reflectors: White reflectors are the most basic type of reflector. They are neutral and provide a soft, even light source. White reflectors are great for portraits, product photography, and any situation where you want to create a natural-looking light source.
- Silver Reflectors: Silver reflectors provide a more intense reflection than white reflectors. They are great for adding a pop of light and creating contrast in your photos. Silver reflectors are ideal for shooting outdoors or in bright, sunny locations.
- Gold Reflectors: Gold reflectors add a warm, golden tone to your photos. They are perfect for creating a warm, cozy feel in your images. Gold reflectors are great for portraits and product photography.
- Black Reflectors: Black reflectors absorb light, making them useful for reducing unwanted reflections and controlling shadows. They are great for creating dramatic lighting effects.
How to Use a Reflector

Using a reflector is easy! Here are the basic steps:
- Set up your reflector: Position your reflector near your subject. The reflector should be facing the light source, whether that's natural or artificial light.
- Position your subject: Make sure your subject is in the right position to receive the reflected light. You may need to move your subject around until you get the desired effect.
- Reflect the light: Hold the reflector in the right position to reflect the light onto your subject. You may need to adjust the angle of the reflector to get the best results.
- Take your shot: Once you have the reflector in the right position, take your shot!
Tips for Using Reflectors
Here are some tips to help you get the best results when using reflectors:
Experiment with different colors: Try using different colored reflectors to achieve different effects in your photos.
Use multiple reflectors: You can use multiple reflectors to create more complex lighting setups. For example, you might use a white reflector to fill in shadows and a silver reflector to add a pop of light.
Watch your angles: Be mindful of the angles of your reflectors. Even a slight change in angle can make a big difference in the final image.
Don't overdo it: Remember, reflectors are just one tool in your photography kit. Don't rely too heavily on them and make sure to experiment with other lighting techniques as well.
In conclusion, reflectors are an essential tool for any photographer. They allow you to manipulate light and create the perfect lighting setup for your photos.