How can one capture photos in low-light conditions?

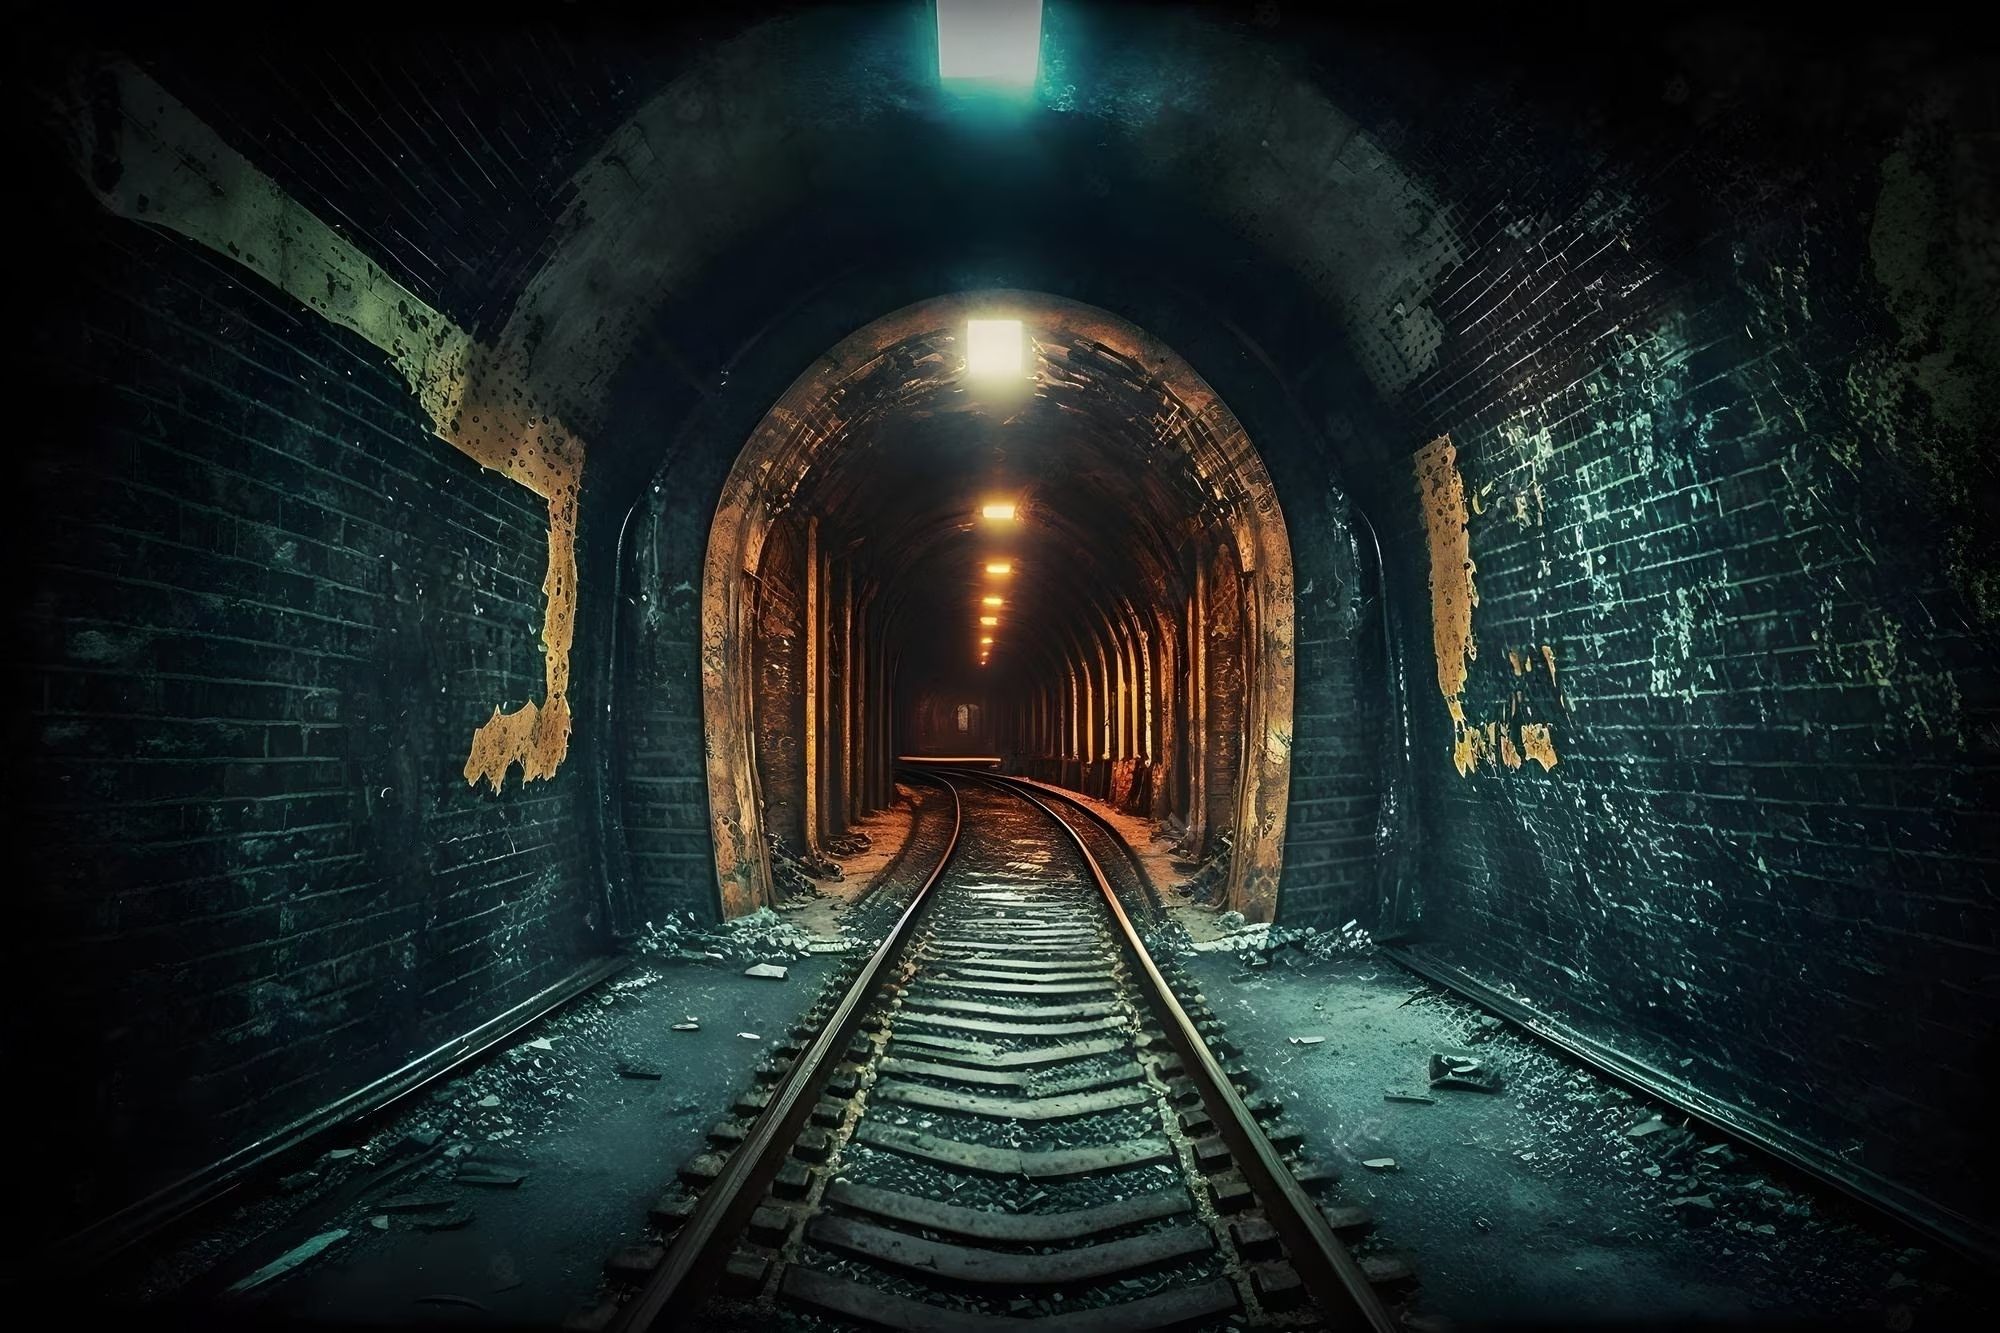
Shooting in low light conditions can be a challenging yet rewarding experience for photographers. Whether you're capturing a stunning night scene or an intimate indoor moment, understanding the techniques and strategies for shooting in low light can help you achieve impressive results. In this blog post, we will guide you step-by-step on how to shoot in low light conditions, from essential camera settings to creative tips and tricks. So grab your camera and let's explore the world of low-light photography!
Table of Contents:
I. Understanding Low Light Photography
II. Essential Camera Settings for Low Light Shooting
III. Mastering Exposure in Low Light
IV. Using Available Light Sources
V. Overcoming Challenges of Noise and Grain
VI. Creative Techniques for Low Light Photography
VII. Post-Processing Tips for Enhancing Low Light Images
VIII. Showcasing Your Low Light Shots
IX. Common Mistakes to Avoid in Low Light Photography
X. Further Resources and Inspiration
Understanding Low Light Photography
Before diving into the techniques, it's important to understand the characteristics and challenges of shooting in low-light conditions. We'll explore the concept of exposure, the role of ISO, aperture, and shutter speed, as well as the impact of noise and grain.
Essential Camera Settings for Low Light Shooting
- ISO: Increase the ISO setting to a higher value (e.g., 800, 1600, or higher) to make your camera more sensitive to light.
- Aperture: Use a wider aperture (smaller f-number) like f/2.8 or wider to allow more light to reach the camera sensor.
- Shutter Speed: Select a slower shutter speed to capture more light, but be cautious of camera shake and motion blur. Consider using a tripod or image stabilization features.
- Metering Mode: Choose an appropriate metering mode (such as evaluative or spot metering) to accurately measure the light in the scene.
- Autofocus Settings: Use autofocus with focus assist or switch to manual focus for precise focusing in low light conditions.
- White Balance: Adjust the white balance settings to ensure accurate color reproduction and avoid color casts caused by different light sources.
- Shooting Mode: Switch to manual mode or aperture priority mode to have better control over the exposure settings.
- RAW Format: Shoot in RAW format to retain maximum image information and flexibility in post-processing.
- Noise Reduction: Enable in-camera noise reduction features or apply noise reduction during post-processing to minimize noise in your images.
- Exposure Compensation: Consider using exposure compensation to fine-tune the exposure if the camera's metering system is not accurately capturing the desired brightness.
Mastering Exposure in Low Light
It is crucial for capturing stunning photographs. To achieve well-balanced and properly exposed images, it's essential to consider key factors such as ISO sensitivity, aperture, and shutter speed. Increasing the ISO allows more light to be captured, but beware of potential digital noise. Choosing a wider aperture enables brighter images, though it affects the depth of field. Adjusting shutter speed and using stabilization techniques help minimize motion blur. Metering mode selection, shooting in RAW format, and monitoring the histogram for proper exposure is also vital. With practice and experimentation, you can excel in capturing exceptional photos in low light.
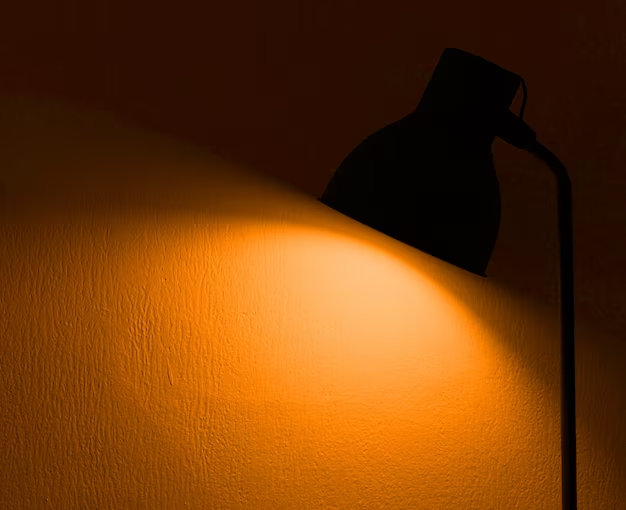
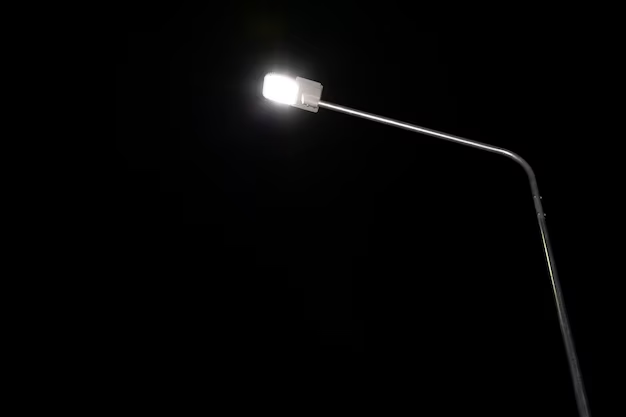
Utilizing available light sources is key to shooting in low-light conditions. We'll explore various light sources such as streetlights, candles, and natural light, and provide tips on how to make the most of them to enhance your images.
Overcoming Challenges of Noise and Grain
Low light conditions often introduce challenges such as noise and grain. We'll discuss techniques to minimize noise, including using appropriate ISO settings, noise reduction tools, and post-processing techniques to reduce grain and enhance image quality.
Creative Techniques for Low Light Photography
Low-light conditions offer unique opportunities for creative photography. We'll share creative techniques like light painting, silhouettes, bokeh effects, and using shadows and reflections to add interest and drama to your low-light shots.
Post-Processing Tips for Enhancing Low Light Images
Post-processing can greatly enhance your low-light images. We'll provide tips on using software tools like Adobe Lightroom to adjust exposure, manage noise, and enhance the overall quality of your low-light photographs.
Showcasing Your Low Light Shots
Once you've captured stunning low-light images, it's time to showcase them. We'll discuss different platforms and methods to display and share your work, from online galleries to social media platforms.
Common Mistakes to Avoid in Low Light Photography
In this section, we'll highlight common mistakes photographers make when shooting in low-light conditions. By being aware of these mistakes, you can avoid them and improve the quality of your low light photographs.
Conclusion:
Shooting in low-light conditions can be a rewarding and creative experience. By understanding the techniques, camera settings, and post-processing tips discussed in this blog post, you'll be well-equipped to capture stunning images even in challenging lighting situations. Remember to experiment, be patient, and practice regularly to refine your skills. Embrace the beauty of low-light photography and let your creativity shine!
FAQs
What are the best camera settings for low-light photography?
Answer: The best camera settings for low-light photography include using a higher ISO, wider aperture, and slower shutter speed to capture more light. Experimentation and adjusting these settings based on the specific lighting conditions are key.
How can I reduce noise in my low-light photos?
Answer: To reduce noise in low-light photos, use a lower ISO setting, enable long exposure noise reduction, and utilize noise reduction tools during post-processing.
What is the role of white balance in low-light photography?
Answer: White balance ensures accurate color representation in your photos. In low light, you may need to adjust the white balance settings manually or use a custom white balance to avoid color casts.
What techniques can I use to stabilize my camera in low light?
Answer: To stabilize your camera in low light, you can use a tripod, increase the shutter speed, utilize image stabilization features, or use alternative methods like leaning against a stable surface or using a beanbag.
How can I capture sharp images in low light without a tripod?
Answer: To capture sharp images without a tripod in low light, you can increase the ISO for faster shutter speeds, utilize image stabilization features in your camera or lens, and practice proper handheld shooting techniques.
Are there any specific lenses recommended for low-light photography?
Answer: Lenses with wider maximum apertures, such as prime lenses with f/1.8 or wider, are generally recommended for low-light photography as they allow more light to reach the camera sensor.
How can I effectively use artificial lighting in low-light conditions?
Answer: To effectively use artificial lighting in low light, consider using external flashes, continuous lighting, or light modifiers to enhance and control the lighting in your scene.
What are the best focusing techniques for low-light photography?
Answer: In low light, using manual focus or utilizing autofocus with a focus assist beam, or using the camera's focus peaking feature can help achieve accurate focus.
How can I capture motion in low light without blur?
Answer: To capture motion in low light without blur, you can increase the ISO to allow for faster shutter speeds, use a wider aperture, and consider using techniques like panning or capturing intentional motion blur for creative effects.
Can post-processing software help improve low-light photos?
Answer: Yes, post-processing software like Adobe Lightroom or Capture One can help enhance low-light photos by adjusting exposure, reducing noise, fine-tuning white balance, and applying other adjustments to improve the overall quality of the image.